How to trigger Microsoft Flow from PowerApps
Hello readers, I hope you guys enjoyed my previous blog. As I mentioned earlier, in this blog we will see how to create a PowerApps form for SharePoint list. But before going into that I thought we might have a glimpse of Microsoft Flows. So today we will see how to trigger Microsoft Flow from PowerApps. If you want to really deep dive into the Microsoft Flow, please go through this link.
Basically, Microsoft Flow is a service that helps us to create automated workflows between our favorite apps and services to synchronize files, get notifications, collect data, and more.
Let’s begin our MS Flow journey, as from below screen shot you can see that I have created screen in PowerApps. This screen contains State text input, District text input and a “Create SP Item” button. Basically in this example we will create item in a SharePoint custom list on button click event. This item will be created with the help of MS Flow which will run on button click event.
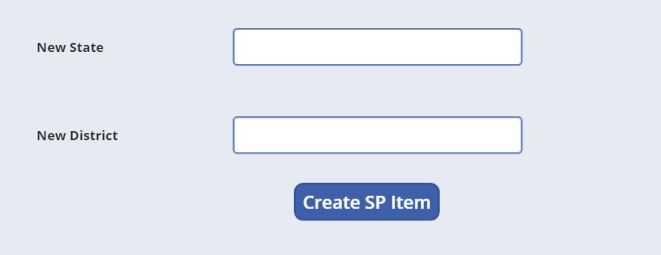
Figure 1
We will follow below steps in order to integrate a MS Flow with PowerApps button click event.
Select the button in PowerApps screen and then click the Flows under Action.

Figure 2
Once you will click on the Flows tab than Data window will open. Click on create a new flow. In below picture you can see that Data window is showing an option to create a flow associated with Button as well as the list of existing MS Flows. But here we will create a new flow to create items in SharePoint list.
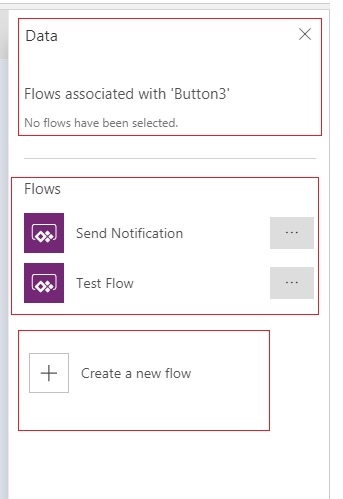
Figure 3
When you will click on the Create a new flow it will redirect you to a new window shown below.
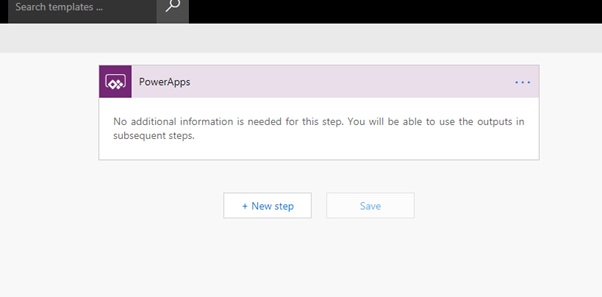
Figure 4
Give a name to your flow in the input text box located at top left. Here I have named it as “Create SP Item” because this flow will create SP item.
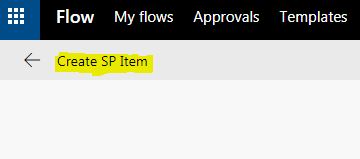
Figure 5
Now click on the New step -> Add an action -> Create Item.

Figure 6
Now it’s time to configure our flow to create the item in SharePoint list. As soon as we will pass the Site Address and List Name values in the configuration form the columns will appear. In below screen shot you can see that my State and District value will come from PowerApps.
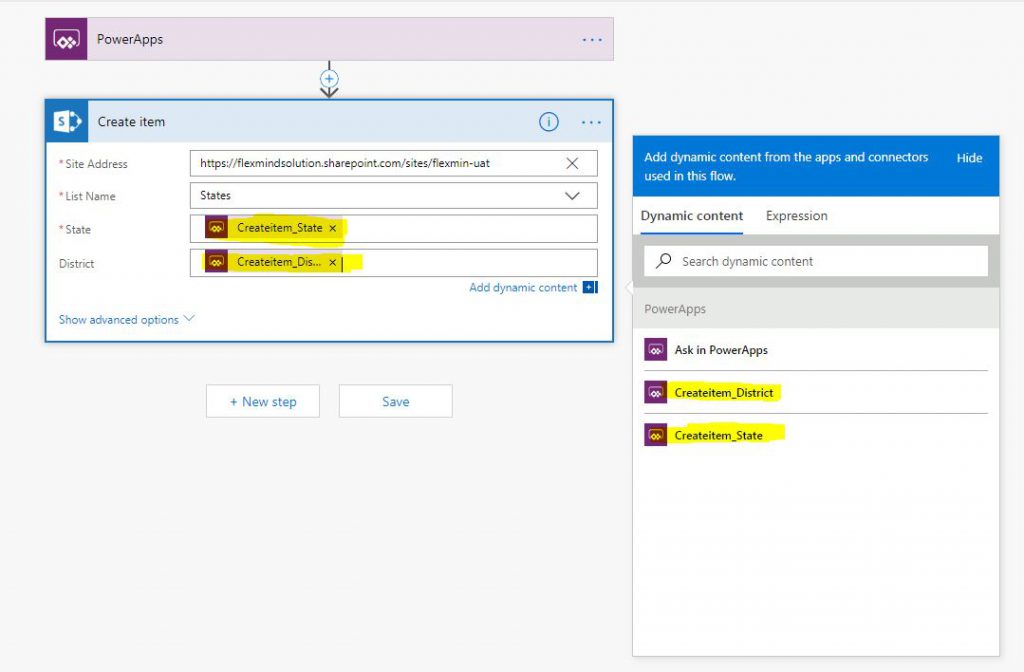
Figure 7
Now Save the Flow and go back to PowerApps development window you will able to see the new Flow under Data window. Now add the newly created flow with button On select Action. Use formula “CreateSPItem.Run(StateText,DistrictText)” as shown below.
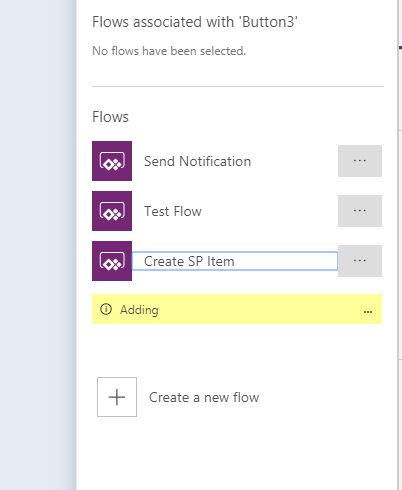
Figure 8
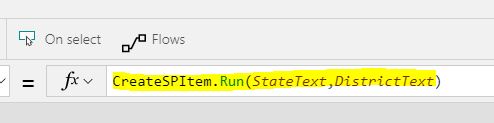
Figure 9
Once you are done with the above steps then pass values in both the text boxes and click button to see the results.
Hope you all liked this article, please share it and subscribe our site for PowerApps and Flow stuffs. Please suggest us if you need anything else regarding PowerApps or MS Flow we will try to come up with that one also. See you all in my next blog on how to create a PowerApps form for SharePoint list.