Hello Everyone !! Hope you all enjoyed my previous blog. Let’s deep dive in how to implement MFA in PowerApps login screen. Recently I had received many requirements for MFA (Multi-Factor Authentication) in PowerApps login screen.
What is MFA (Multi-Factor Authentication) ?
Multi-factor authentication : In this method user needs to authenticate twice or more than that.
OK. Now we will see how we can achieve the above demo video.
PowerApps Screen
Here I have created two PowerApps screen using canvas app.
1. Login Screen – User keys in login details.
2. Application Screen – User will navigate to this screen after successfully login.

Login Screen
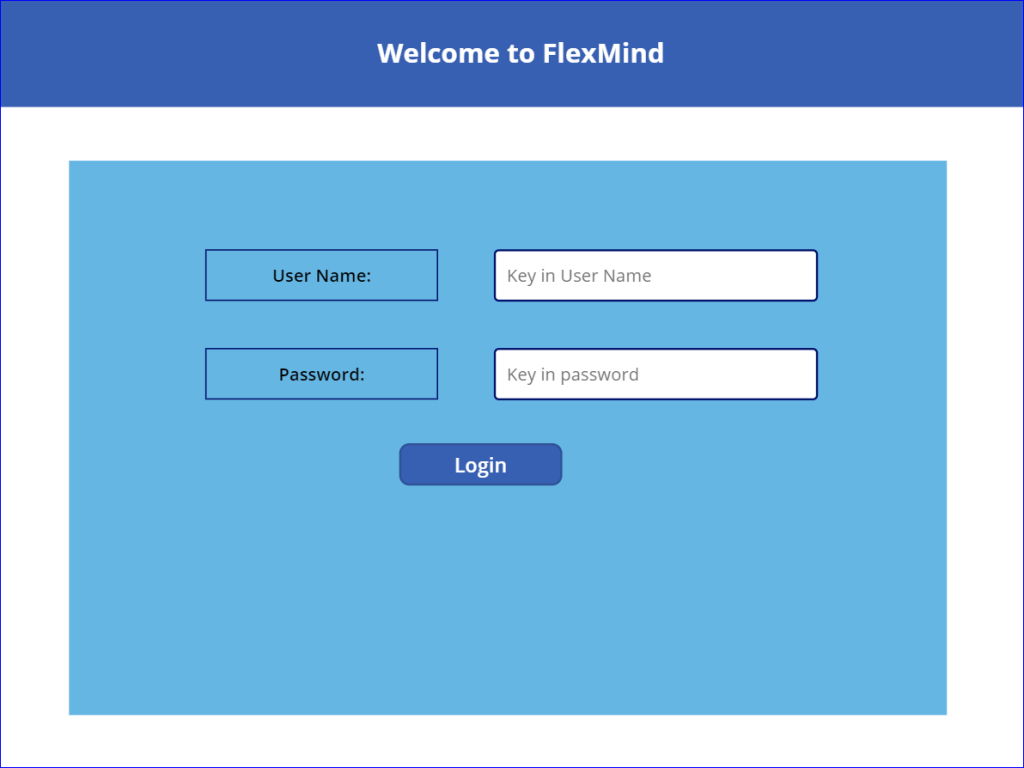
User Login
My Login screen consists of Labels, Text inputs and buttons. Follow below steps to create your login screen
- Add user name label and text input
- Password label and text input
- Login button.
- Create Data Connections
- Create a SharePoint list to store the user credentials.

- Add SharePoint list data connection.
- Also add Office 365 outlook connection to send OTP.
- Set the Mode of password text input to Password to mask the data.
Formula on Login Button:
If(
!IsBlank(
LookUp(
'User Details',
UserName = TextInput1.Text And UserPassword = TextInput1_1.Text
).UserName
),
UpdateContext({otpGrp: true}),
Notify("Invalid User or Password. Please conatct your System Administrator")
);
Set(
otp,
100000 + RoundDown(
999999 * Rand(),
0
)
);
If(
!IsBlank(
LookUp(
'User Details',
UserName = TextInput1.Text And UserPassword = TextInput1_1.Text
).UserName
),
Office365Outlook.SendEmail(
LookUp(
'User Details',
UserName = TextInput1.Text And UserPassword = TextInput1_1.Text
).UserEmail,
"OTP to login",
"Your OTP is: " & otp
)
);
OTP Section
We will use this section to facilitate our MFA in PowerApps login Screen.
- Create a group of OTP input, Resent OTP button and Confirm OTP icon.
- Set visibility of this group to otpGrp.
- On select of Confirm OTP icon is below formula
If(otp=Value(TextInput3.Text),Navigate(AppScreen),Notify("Ivalid OTP"))
Formula on select of Resend OTP:
Set(
otp,
100000 + RoundDown(
999999 * Rand(),
0
)
);
Office365Outlook.SendEmail(
LookUp(
'User Details',
UserName = TextInput1.Text And UserPassword = TextInput1_1.Text
).UserEmail,
"OTP to login",
"Your OTP is: " & otp
)
Application Screen
Add a success screen to show successful login.
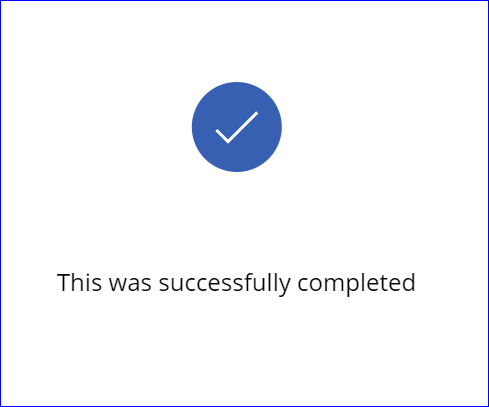
Whoopee !! Our Multi-Factor authentication login screen is ready.
Hope you all will like this post. Please share and subscribe our site for more articles related to power platform.
Thanks !!
Hi Rakesh,
Thanks for this post. I would like to implement this. Just don;t understand what you mean by the underneath.
– Create a group of OTP input, Resent OTP button and Confirm OTP icon.
– Set visibility of this group to otpGrp.
Appreciate your response
Basically, I am creating a group of icons/buttons, and text boxes that are used for OTP generation. After that, I am setting the visibility of the whole group rather than setting it individually. otpGrp is basically a variable that is initially false but after clicking log in button its value will be true. Hence it is used for setting the visibility of the whole group. Hope it will answer your query. If you are still having a doubt, please let us know. We will try to resolve it.
Thanks..!
Thanks Rakesh,
Got it all working. I opted to rather call the varaible “varOtpGrp”.
Thanks for your. Great article.
Regards
Frans
you are welcome Frans. We are glad that this article helped you.
Thanks !!
Hi can this be adapted to use the cell phone as well same as how the Banking Apps does it.
Hi sir same scenario how we implement with azure active directory guest users like guest user credentials with canvas login