In our last blog, we saw the camera control and location feature of PowerApps. Today we will see How to Create Tiles In PowerApps. The below video provides the basic idea of this functionality.
Follow the below steps to create tiles in powerapps. We will use label control to create the tiles. Tiles make our design impressive and easy to use. It enhances the user experience.
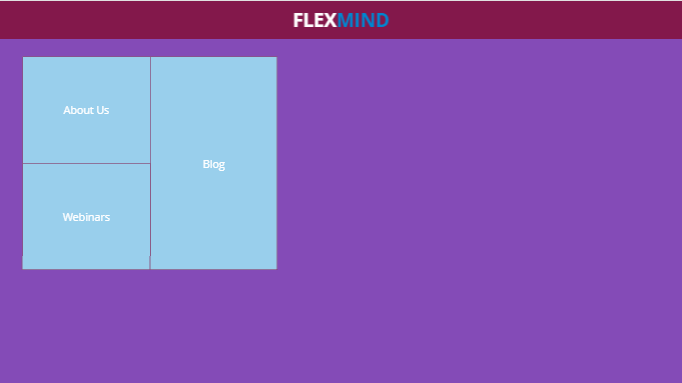
Steps:
1. Add labels on the main screen.
2. Add three screens to the canvas app.
3. Now write the below formulas.
About US label - > Navigate(AboutUs,ScreenTransition.Cover)
Webinars label - > Navigate(Webinars,ScreenTransition.Cover)
Blog label -> Navigate(Blog,ScreenTransition.Cover)
We can set the HoverFill property of the label as per our desired color.

Write below code on select event of home button icon to navigate properly.
"Navigate(HomeScreen,ScreenTransition.Cover)"
After completing the above steps, we are ready with our Tiles implementation in powerapps.
Most apps contain multiple screens. Use the Back and Navigate function to change which screen is displayed. For example, set the OnSelect property of a button to a formula that includes a Navigate function if you want to show a different screen when a user selects that button. In that formula, you can specify a visual transition, such as Fade, to control how one screen changes to another.
For more information on the Navigate function refer link.
If you like this post, please subscribe to our site and share this link as well. We are also conducting batches for the training of PowerApps and SharePoint Framework, if interested please contact us.
Thank you all for reading our articles. !!