This self-paced course will help you prepare for the Azure Developer certification exam AZ-204: Developing Solutions for Microsoft Azure.
VILT & Self-Paced

In this blog, you will learn how to configure Azure DevOps CICD with Azure Kubernetes Service. Azure Kubernetes Service (AKS) manages your hosted Kubernetes environment, making it quick and easy to deploy and manage containerized applications without container orchestration expertise.
It also eliminates the burden of ongoing operations and maintenance by provisioning, upgrading, and scaling resources on-demand, without taking your applications offline. Azure DevOps helps in creating Docker images for faster deployments and reliability using the continuous build option.
One of the biggest advantages to use AKS is that instead of creating resources in the cloud you can create resources and infrastructure inside Azure Kubernetes Cluster through Deployments and Services manifest files.
Things we are going to achieve in this lab scenarios are given below :
3. Once after the project is imported we can see the below in our Azure DevOps work space.
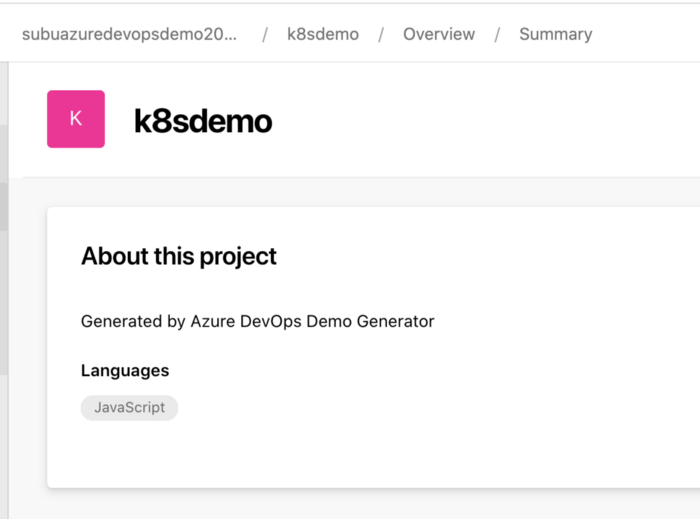
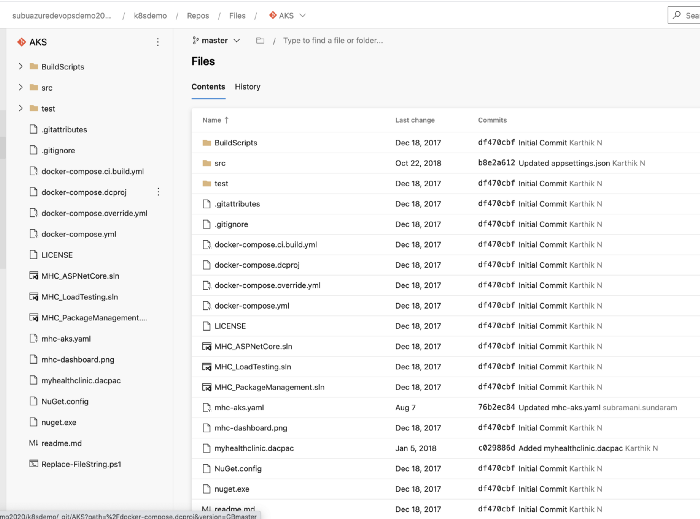
This will be the code and the basic ASP dot net applications along with the SQL Server details. Now before we star the CICD process, we need to make the Azure environment ready for us.
version=$(az aks get-versions -l <region> --query 'orchestrators[-1].orchestratorVersion' -o tsv)

az group create --name akshandsonlab --location eastus

az aks create --resource-group akshandsonlab --name akshandsonlab --enable-addons monitoring --kubernetes-version $version --generate-ssh-keys --location eastus
3. Next , we are going to create the Azure Container Registry from the cloud shell.
az acr create --resource-group akshandsonlab --name akshandsonlab --sku Standard --location eastus
4. Authorize the AKS cluster to connect to the Azure Container Registry using the AKS generated Service Principal.
# Get the id of the service principal configured for AKS
 CLIENT_ID=$(az aks show --resource-group $AKS_RESOURCE_GROUP --name $AKS_CLUSTER_NAME --query "servicePrincipalProfile.clientId" --output tsv)

 # Get the ACR registry resource id
 ACR_ID=$(az acr show --name $ACR_NAME --resource-group $ACR_RESOURCE_GROUP --query "id" --output tsv)

# Create role assignment
az role assignment create --assignee $CLIENT_ID --role acrpull --scope $ACR_ID
5. Create an Azure SQL Server and SQL Database.
az sql server create -l <region> -g akshandsonlab -n <unique-sqlserver-name> -u sqladmin -p P2ssw0rd1234az sql db create -g akshandsonlab -s <unique-sqlserver-name> -n mhcdb --service-objective S0
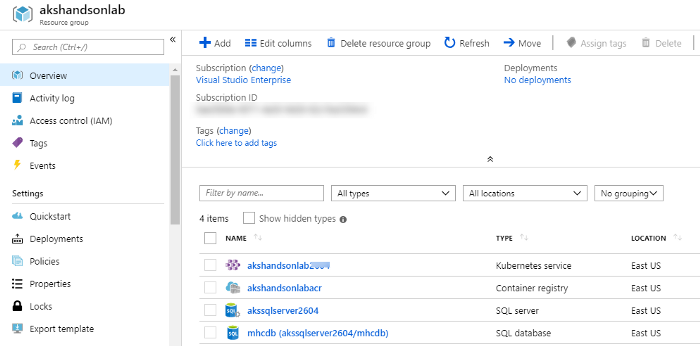
6. Once after we create the resources fully , we will be able to this below on the Azure portal in RG.
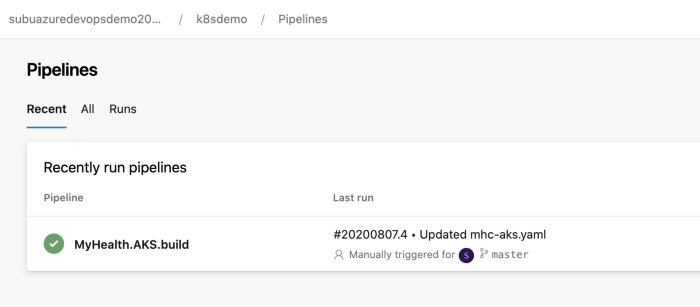
2. Select MyHealth.AKS.Build pipeline and click Edit.
3. In Run services task, select your Azure subscription from Azure subscription dropdown. Click Authorize.
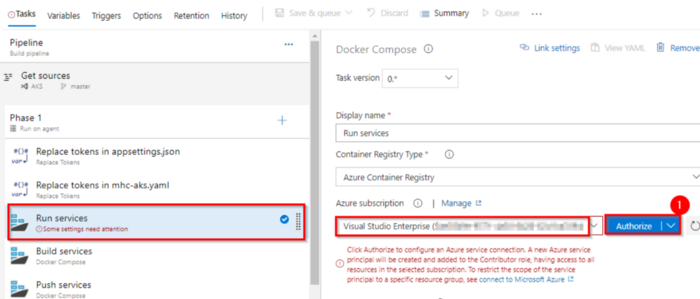
4.we need to follow the same for all the below steps and then we can make the pipeline running.
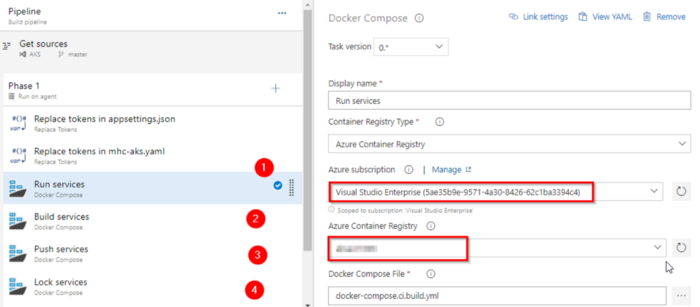
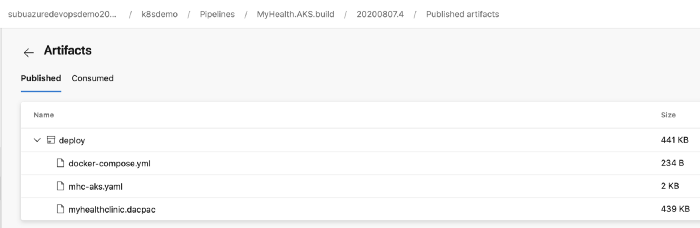
We have 2 important files that we need to edit depending upon the resources that we have created on Azure using the CLI.
applicationsettings.json file contains details of the database connection string used to connect to Azure database which was created in the beginning of this lab.
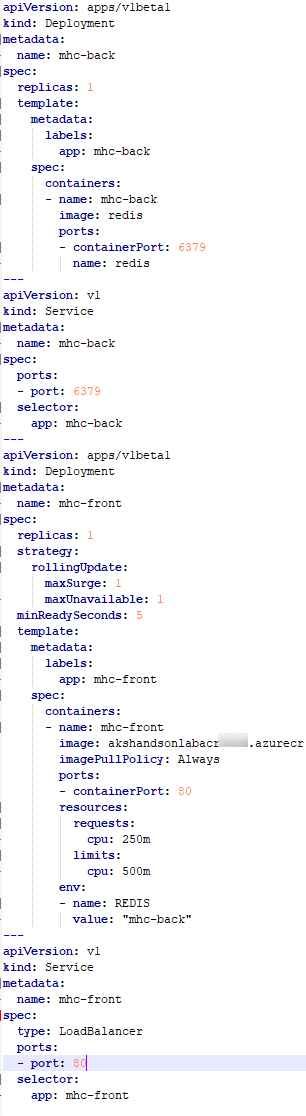
mhc-aks.yaml manifest file contains configuration details of deployments, services, and pods which will be deployed in Azure Kubernetes Service. The manifest file will look like as below
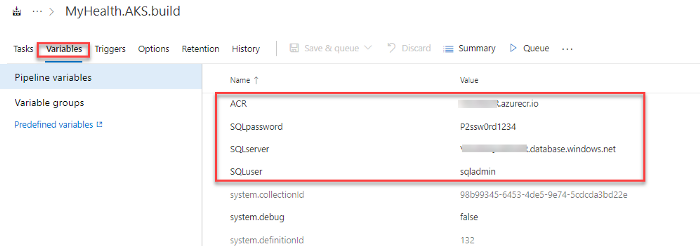
5. From the variables side we need to give the SQL server and other details for the CI build to take the new changes.
Now , we can save and run this pipeline and once after completed we will be able to see the output.
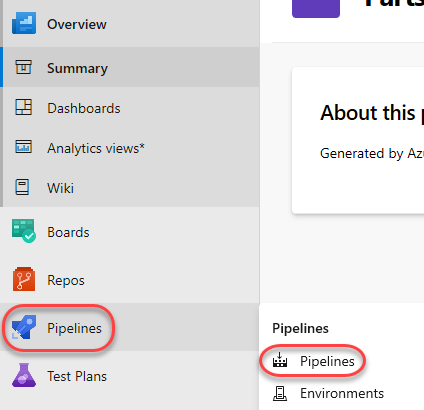
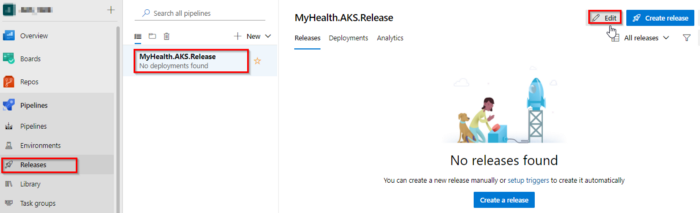
6. Next, Navigate to Pipelines | Releases. Select MyHealth.AKS.Release pipeline and click Edit.
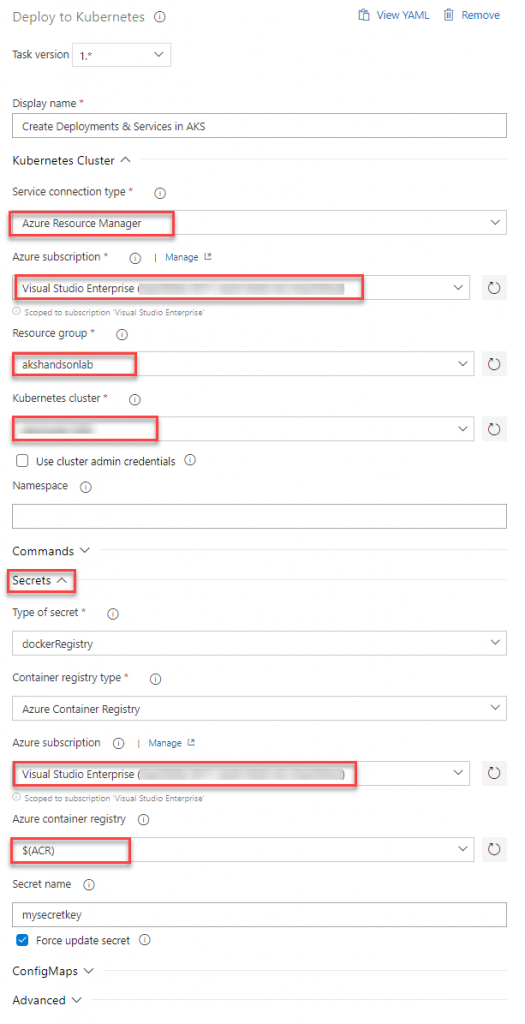
7. In the Dev environment, under the DB deployment phase, select Azure Resource Manager from the drop-down for Azure Service Connection Type, update the Azure Subscription value from the dropdown for Execute Azure SQL: DacpacTask task.
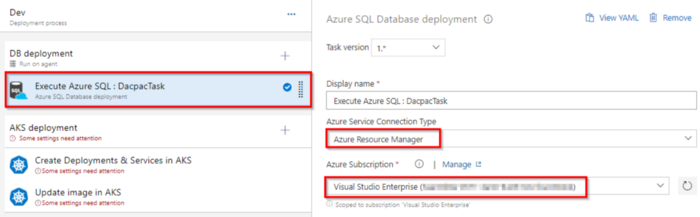
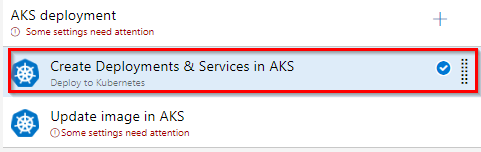
8. In the AKS deployment phase, select Create Deployments & Services in AKS task.
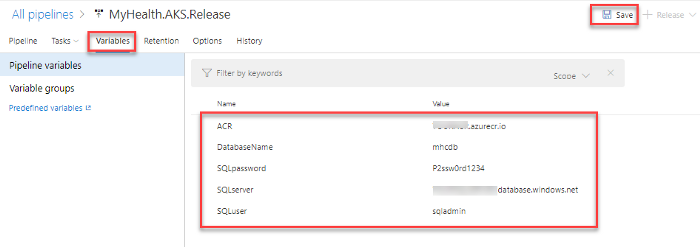
9. Select the Variables section under the release definition, update ACR and SQLserver values for Pipeline Variables with the details noted earlier while configuring the environment. Select the Save button.
10. Finally we can run it to check the output as given below.
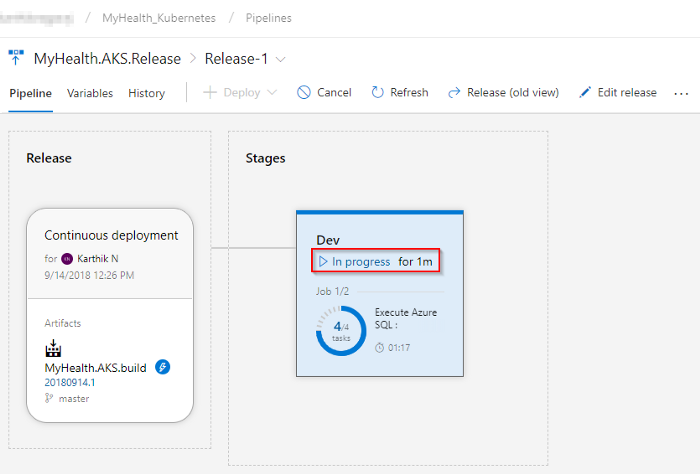
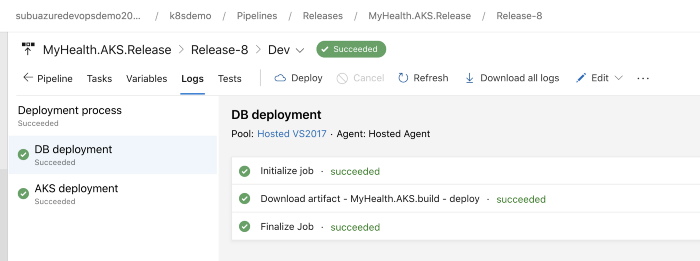
Now we can check the output that we have done with our CICD into the AKS cluster.
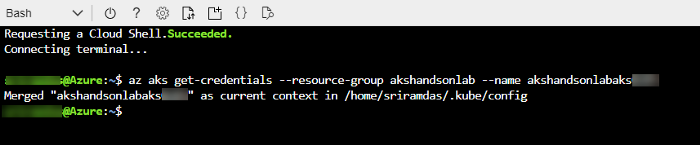
az aks get-credentials --resource-group yourResourceGroup --name yourAKSname in the command prompt to get the access credentials for the Kubernetes cluster
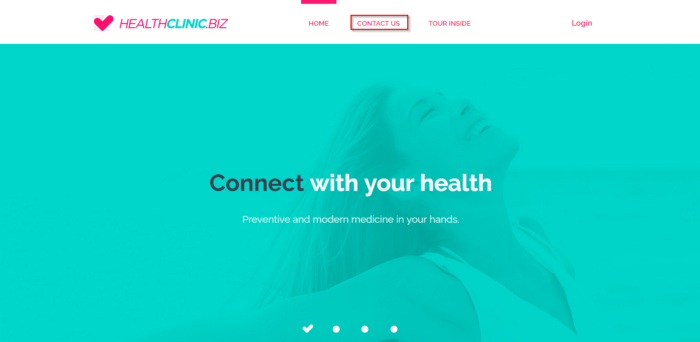
To access the application, run the below command. If you see that External-IP is pending, wait for sometime until an IP is assigned.

Copy the External-IP and paste it in the browser and press the Enter button to launch the application.
Feel free to contact us for any query on Azure DevOps.
This self-paced course will help you prepare for the Azure Developer certification exam AZ-204: Developing Solutions for Microsoft Azure.
AZ-900: Microsoft Azure Fundamentals Tutorial provides foundational level knowledge on cloud concepts; core Azure services; security, privacy, compliance, and trust; and Azure pricing and support.
This self-paced course will help you prepare for the Azure DevOps certification exam AZ-400: Designing and Implementing Microsoft DevOps Solutions.