Hope you all liked my earlier blog discussing Loops in power automate desktop (PAD). This article is a continuation of my previous blog. We will go through the below topics while Decoding Loops in Power Automate Desktop.
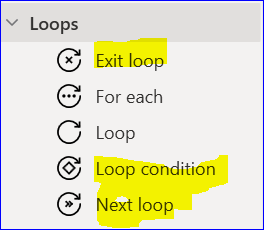
1. Exit Loop
2. Loop Condition
3. Next Loop
Without further telling any background story, let’s start decoding loops in PAD.
Exit Loop
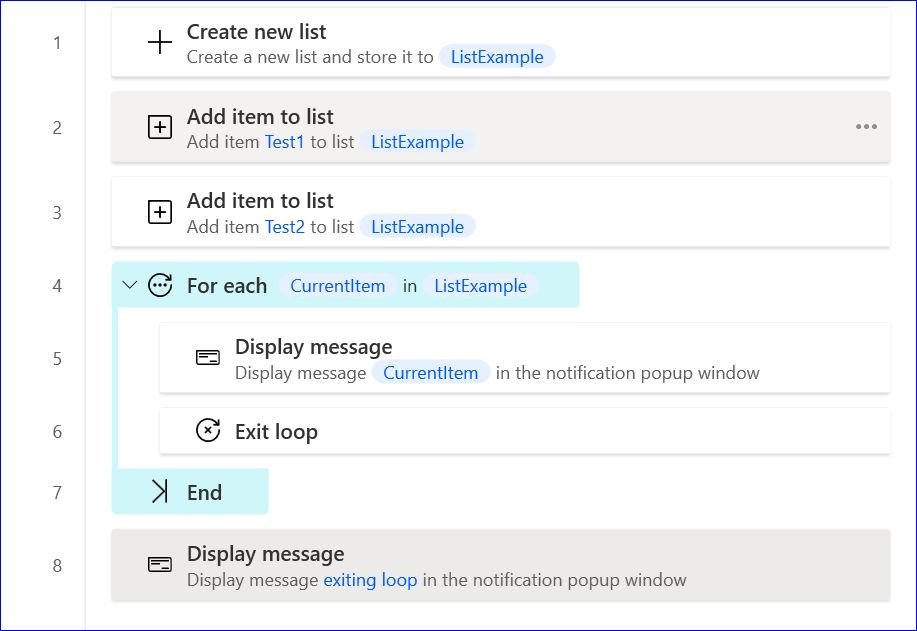
Exit loop terminates the loop and the flow resumes at the next action or statement following the loop. In below screenshot, we can see that I have inserted exit loop inside for each loop. Ideally, this for each loop should display message twice. But because of exit action it will display message once and will directly jump into next step.
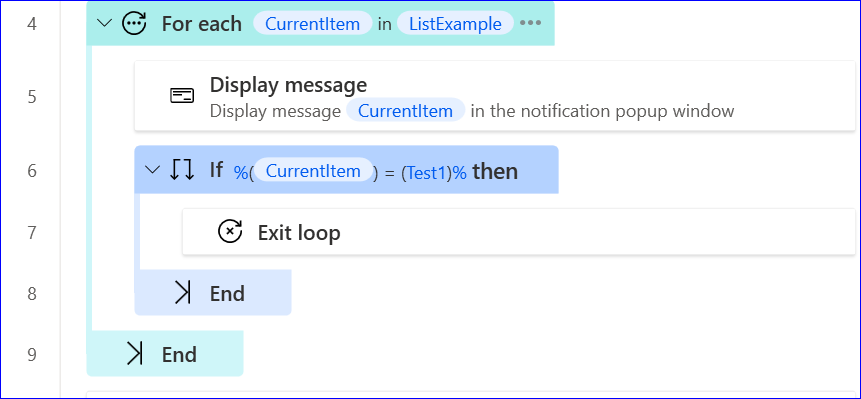
We can use conditional exit as well if required. We can put the exit action under If condition block as shown in below picture.
Loop Condition
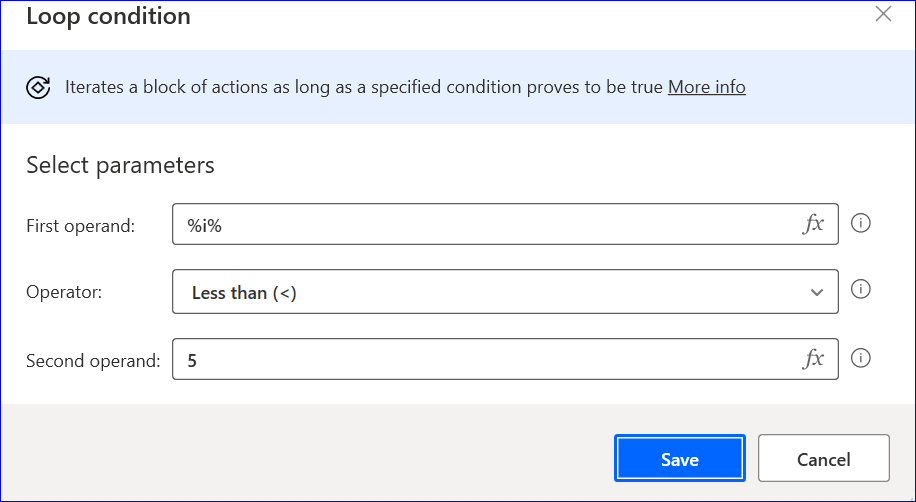
Loop condition iterates a block of actions as long as the specified condition proves to be true. It’s similar to the while loop we use in our programming and development.
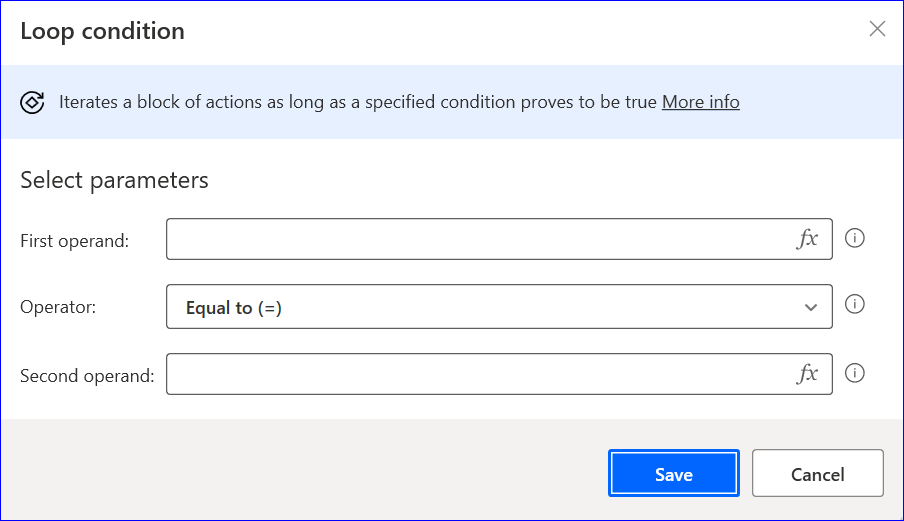
Example
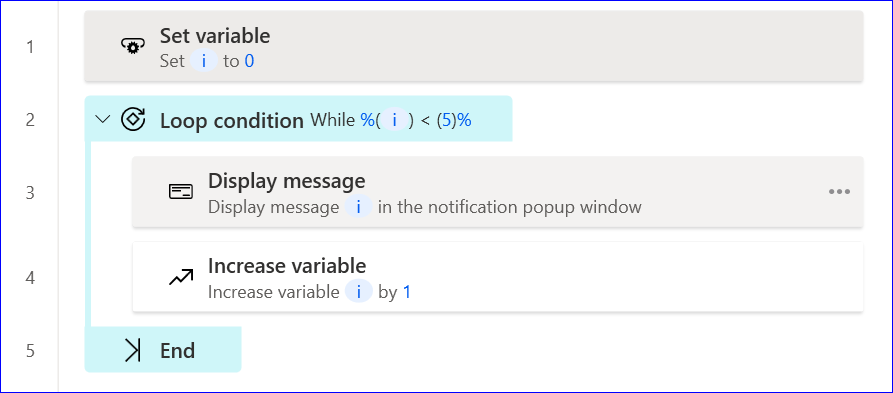
In above example, initially I am setting a variable i is equal to 0. After that I am increasing the variable i value by 1 inside the loop. This loop will pop up display message five times having 0,1,2,3 and 4 respectively.
Next Loop Action
This action forces the next iteration of the block to take place, skipping any actions in between.
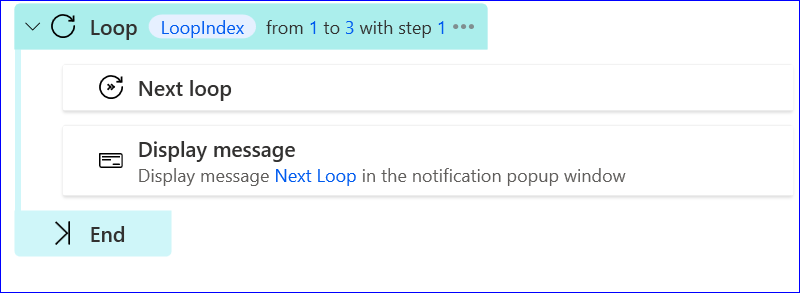
In Above example, the display message will never pop up because it will jump to End action.
Hope you all will like this article on decoding loops in PAD.
Cheers !!